
Step 1: Log in to WordPress
Go to q4blog.com/wp-admin and log in with your username and password.
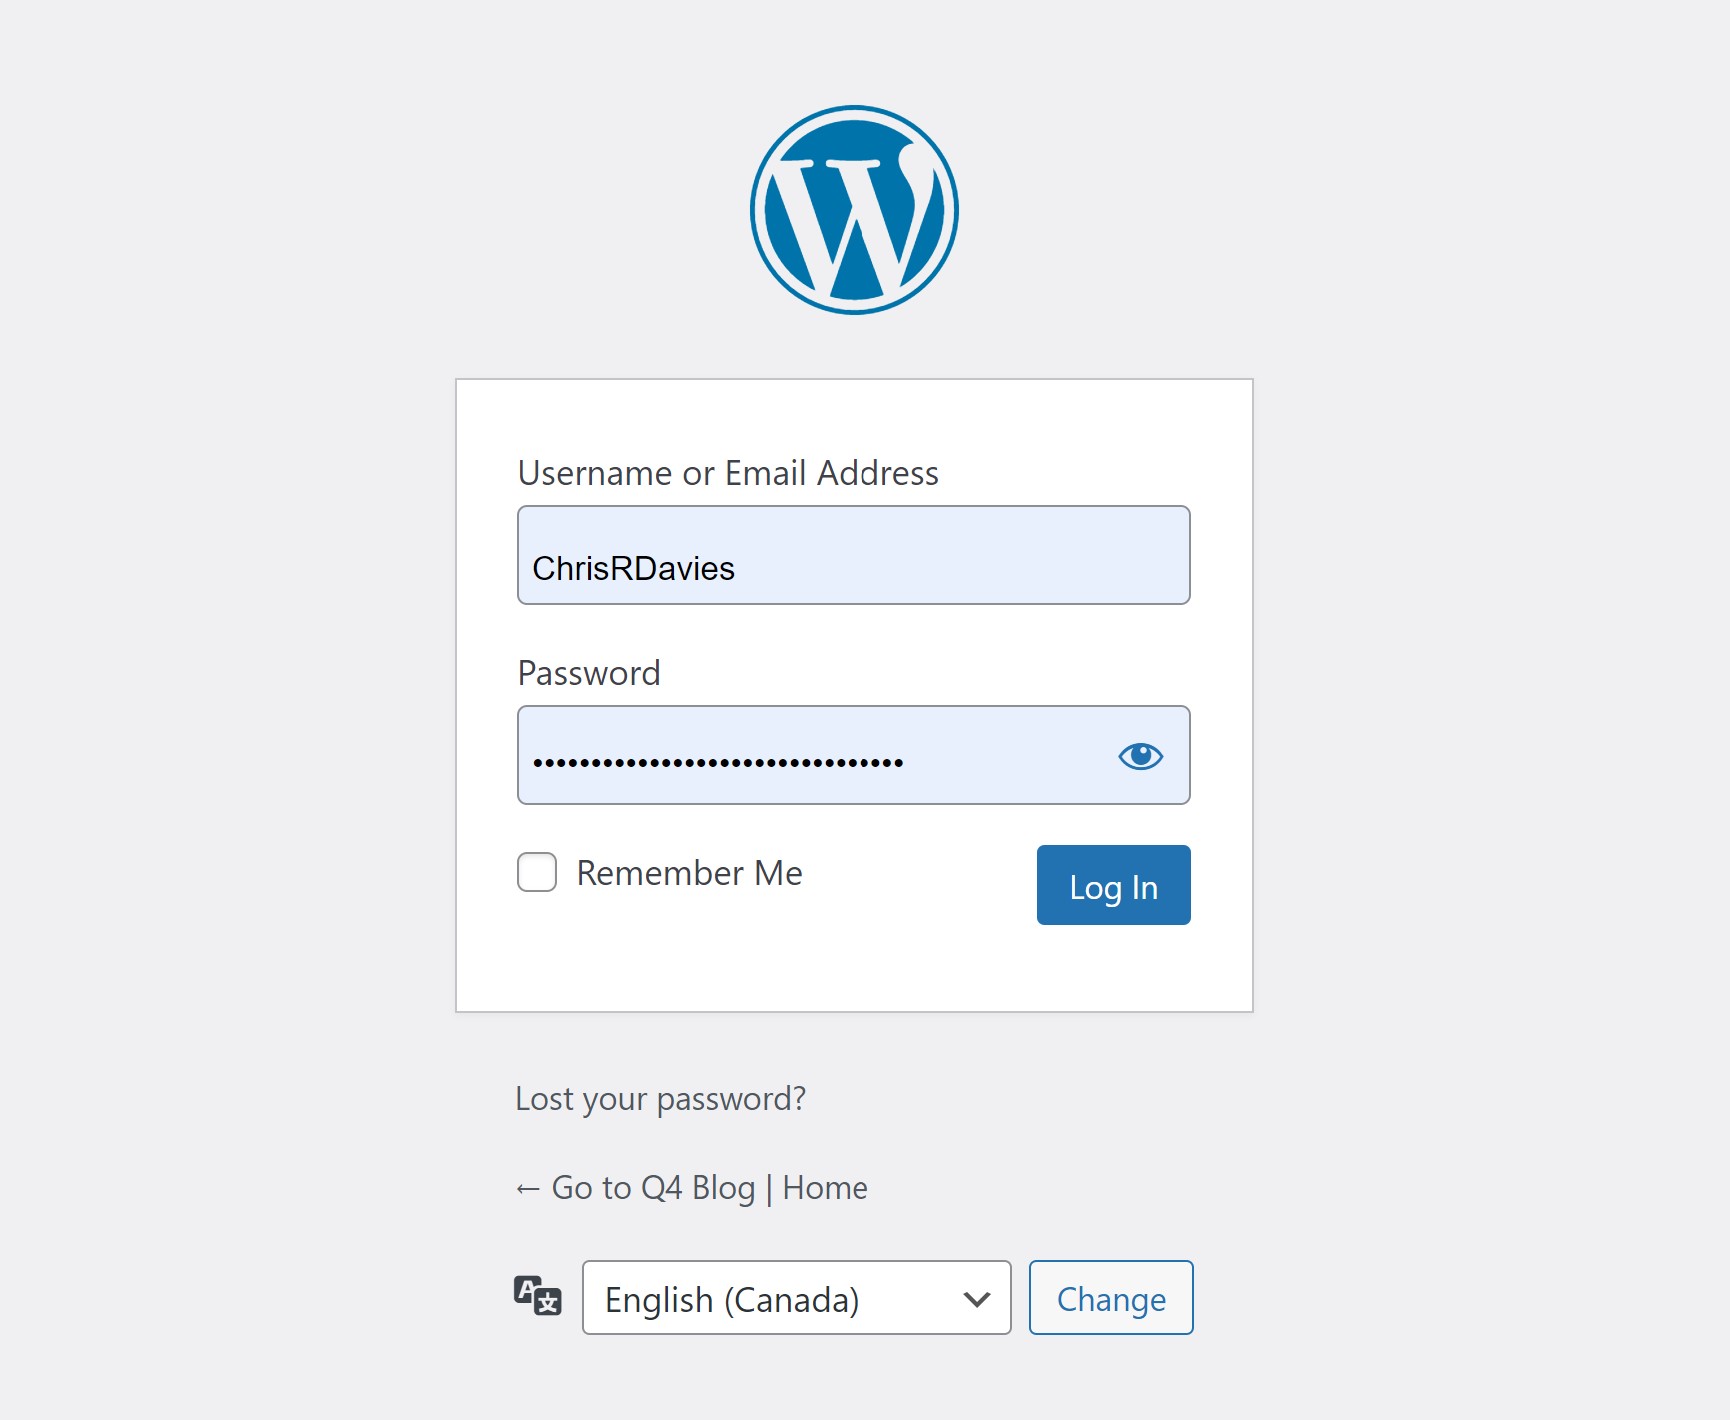
You’ll then be taken to the WordPress dashboard. If you were already logged in, you’ll go straight to the WordPress dashboard without having to log in again.
Step 2: Create a new post
There are several ways to add a new post – the easiest way is to hover over the Posts tab and click Add New.
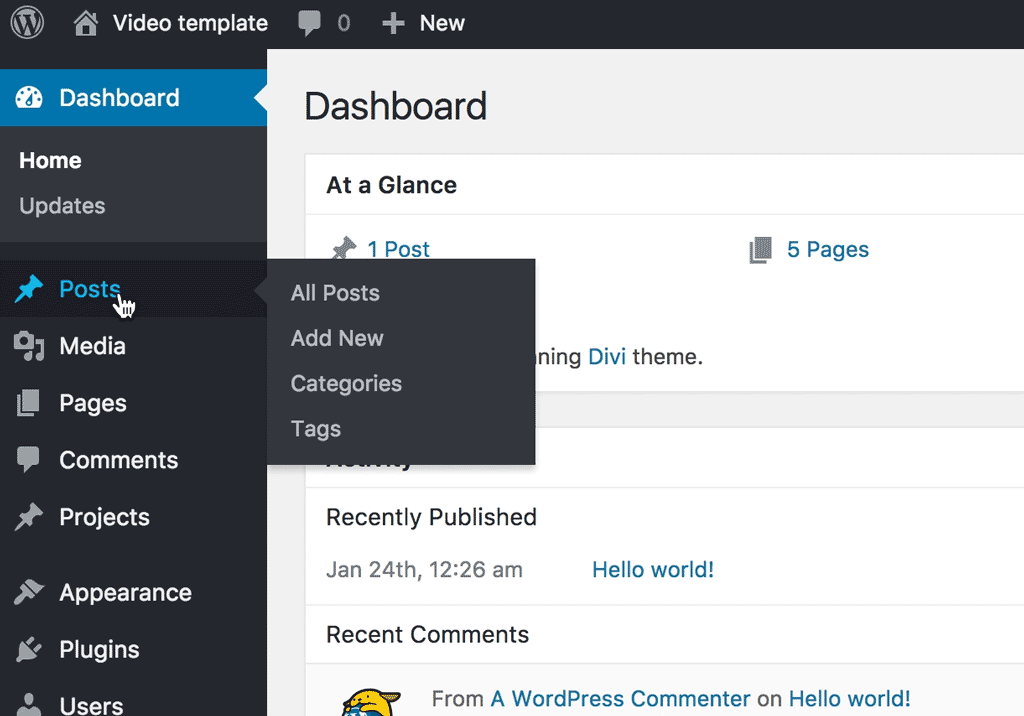
Alternatively, you can hover over the New tab in the top bar and click on Post. You can also click on the Posts tab and then click Add New at the top of the posts screen.
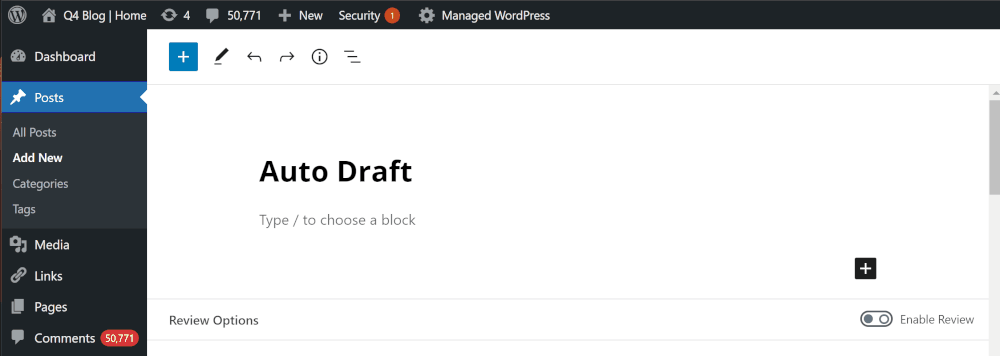
Step 3: Enter the title of your new post
Put the title of your post in the first box at the top that says Auto Draft.
- remember to set the Author of the post
Step 4: Enter body content
The section below the title is where you put all the text, images and other content that makes up your new blog post. This can easily be added by copy/pasting the contents of the copy deck or word document. All images will be formatted and optimized for web.
The WordPress editor provides you with formatting tools like Bold, Italic, Paragraph Alignment, Styles, Lists and a bunch of others.
Step 5. Set or replace a featured image
The feature image will be shown at the very top of the post. It will also be your post’s thumbnail, meaning wherever this post appears, the thumbnail image will appear along with it.

You can upload a new image, or use an existing image from your media library.
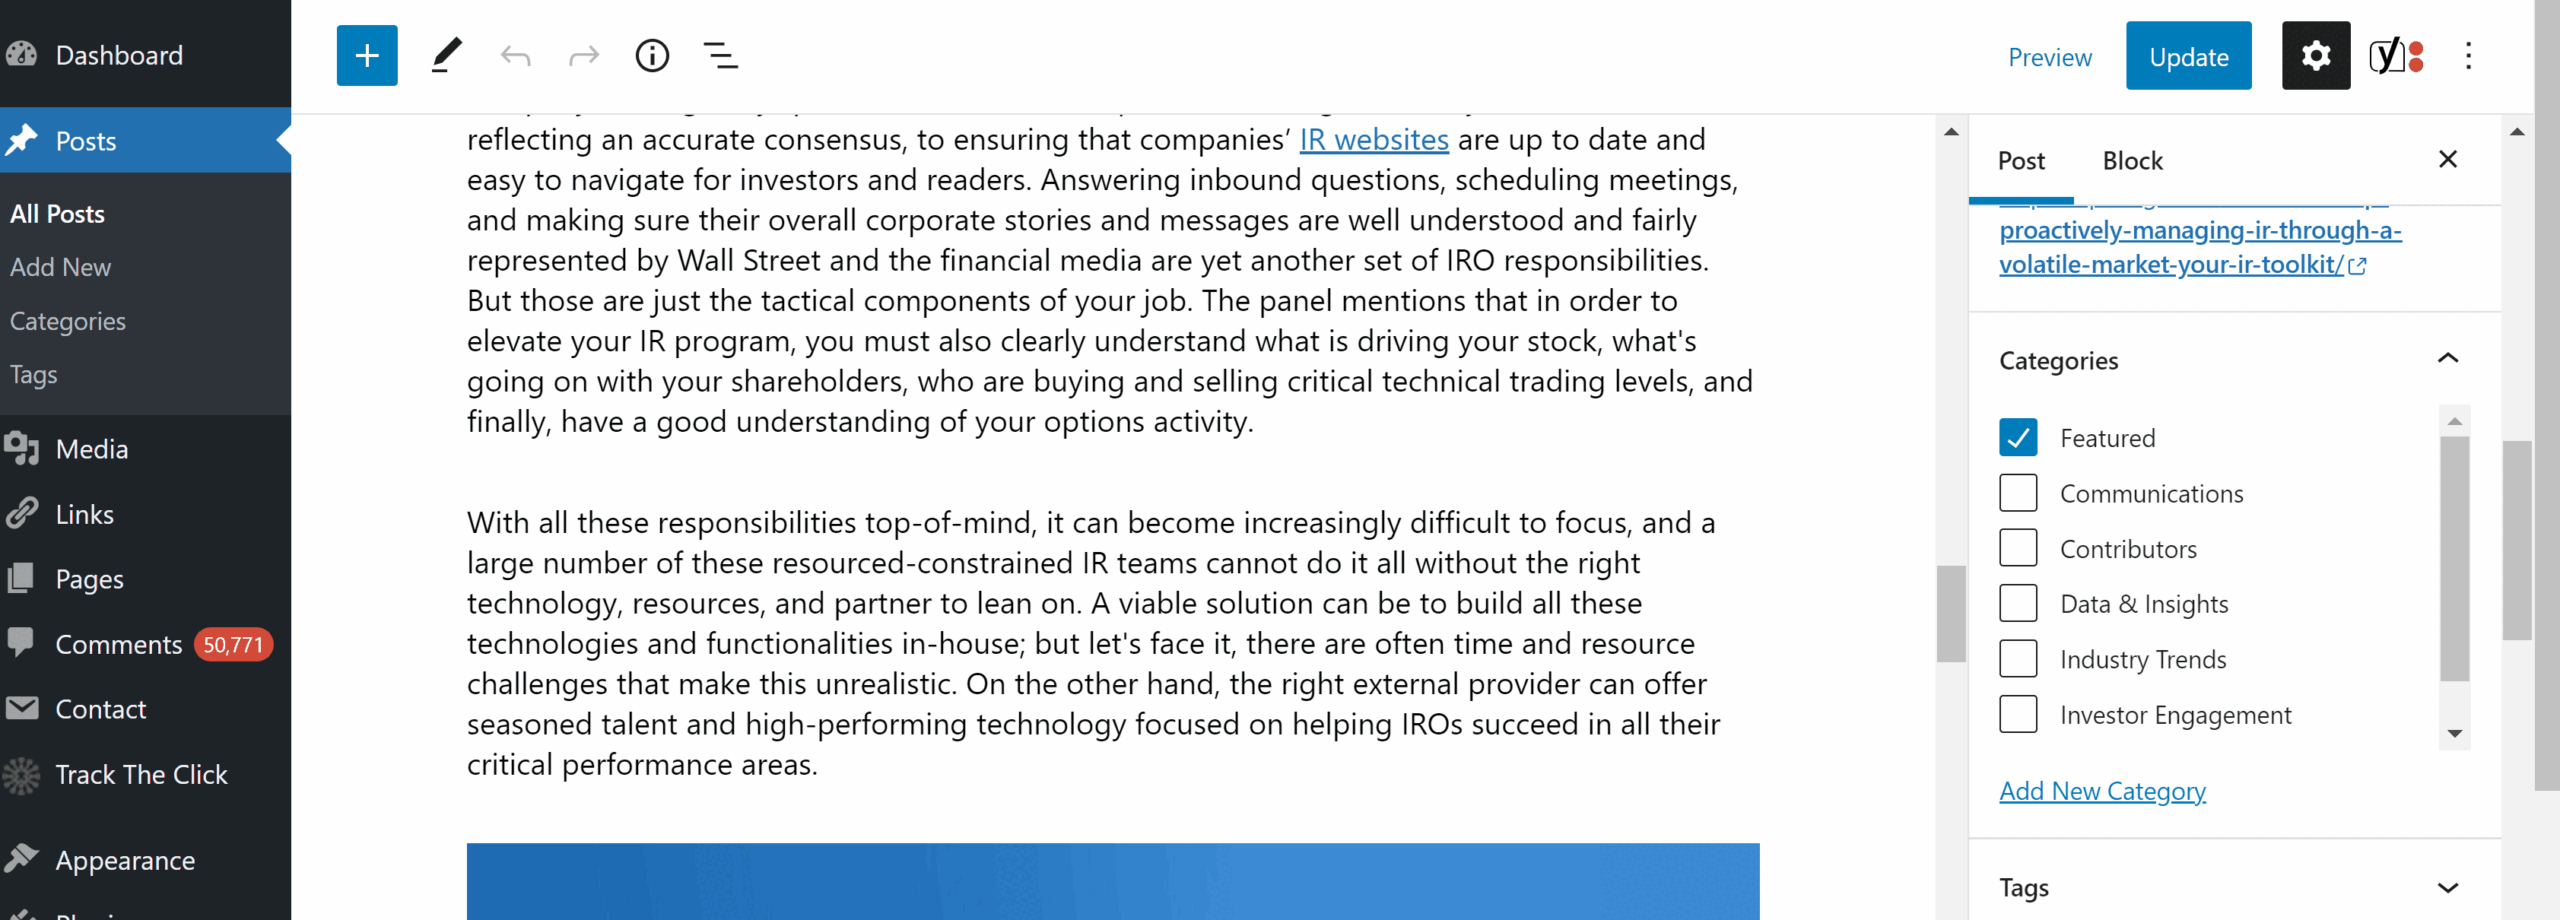
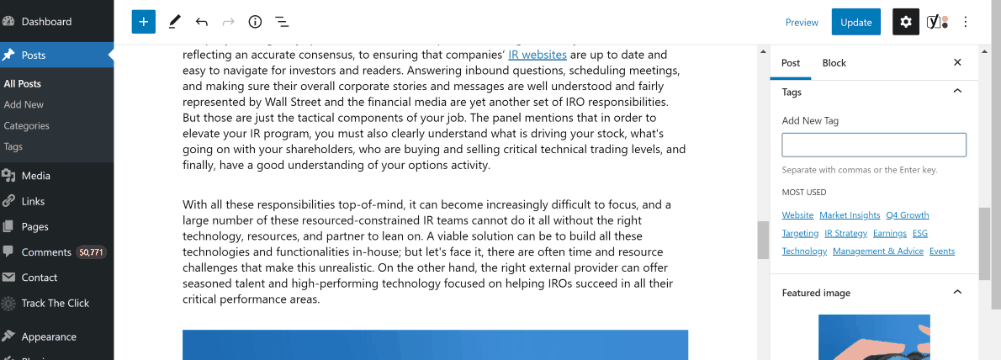
Step 6. Select tags and categories
Tags and Categories are located on the right side of a post.
Categories are usually broader whereas Tags are generally a bit more specific. By default, all blogs are set to category “Featured”, but secondary categories can be chosen.
When creating tags and categories, try to think of topics that people will want to read more about. You don’t want your tags/categories to be too general, but you also don’t want them to be so specific they only contain one post. We do have some general tags to select from, but you can also add custom tags just by typing the term and hitting ENTER.
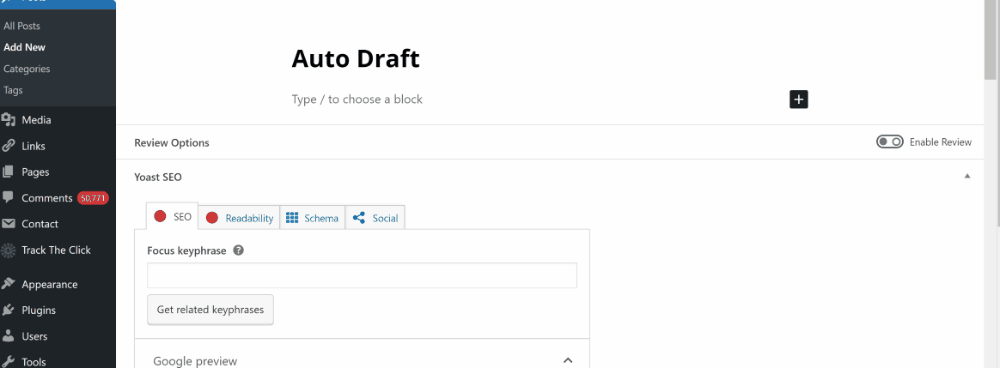
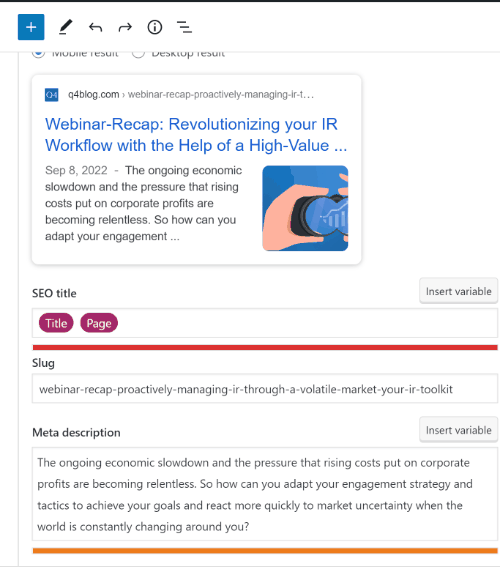
Step 7. SEO Preview
In addition to the blog copy, we also need to prep a Google preview meta description. Typically, the 1st paragraph of the blog will suffice, but this is another opportunity for custom copy using targeted keywords.
Meta description length should be kept descriptive and between 150 and 160 characters for optimal length, and this includes spaces. Additionally, you also want to make sure to:
- Accurately summarize the page content. While there’s no minimal or maximal meta title length for the text in the description, Google recommends making sure that it’s long enough to be fully shown in Google results (note that users may see different sized snippets depending on how and where they search).
- Use unique descriptions for each page. Having a different description of meta tags for each page helps both users and Google, especially in searches where users may bring up multiple pages on your domain.
- Include your primary keyword and related keywords naturally.
Step 8. Hit publish!
You can preview what your post will look like on your actual site by clicking the Preview button in the side bar. Once you’re happy and your post is finished, click on the blue publish button on the right-hand side and your post will be live! You can also schedule the post by using the date picker and selecting the time you would like the post to go live.

Or you can hit Save Draft come back to it later. Drafts are saved in WordPress but not visible to any of our site visitors.