Log in to CMS
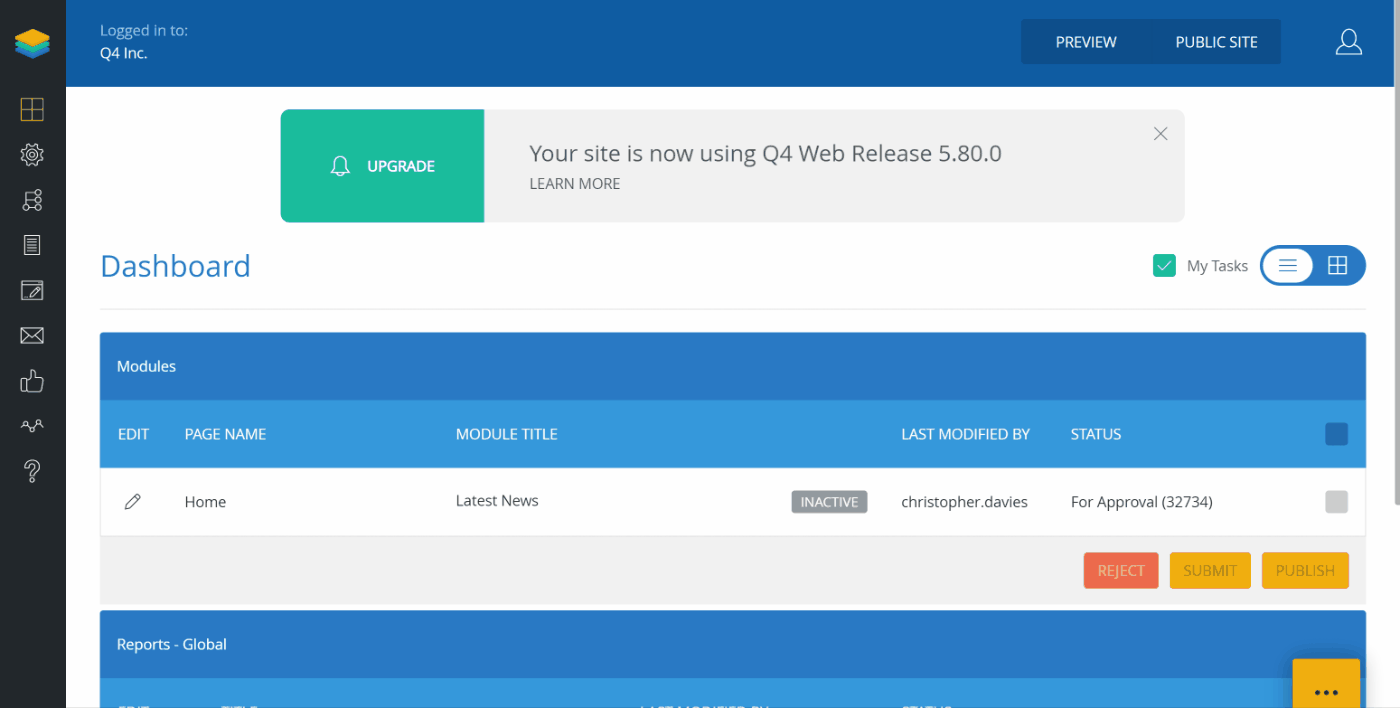
Go to https://q4inc2017newsroom.s4.q4web.com/admin/login.aspx and log in with your username and password. You’ll then be taken to the dashboard.
JUMP TO
Event Asset Type: Tiled
Event Asset Type: Slider
TILED EVENT ITEM
This is 1 of 2 types of events you may be asked to create. These instructions are for the smaller tiled content type that are displayed on https://media.q4inc.com/events/default.aspx
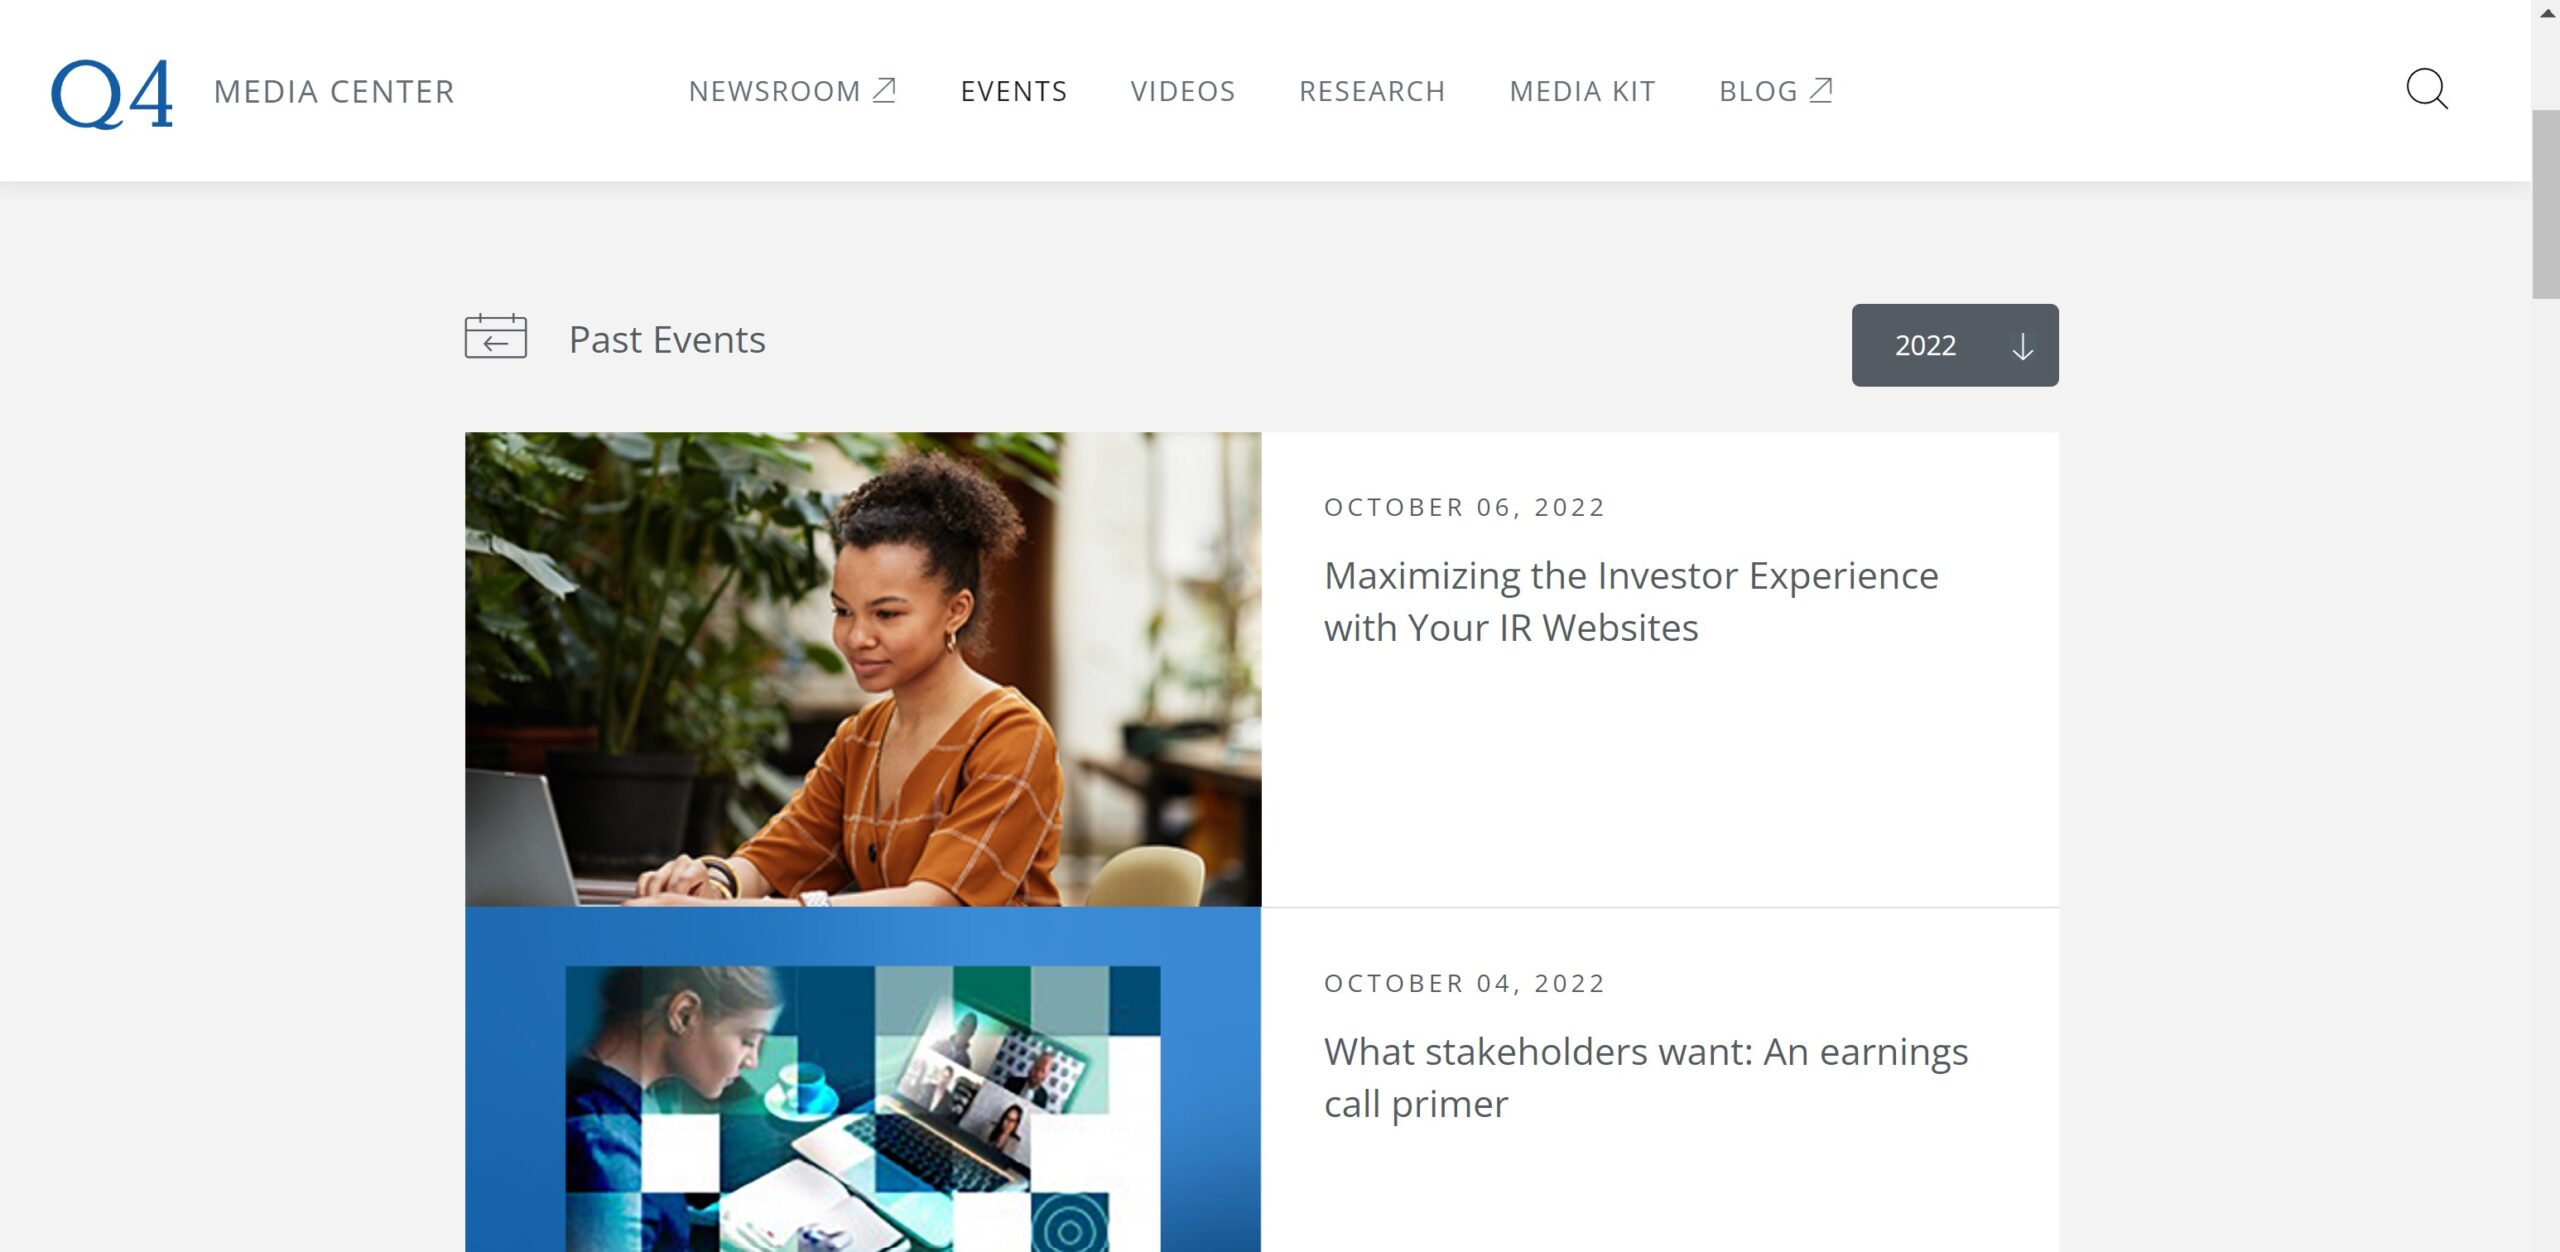
events will be ordered automatically based on the date of the event
Step 1: Create a new content item
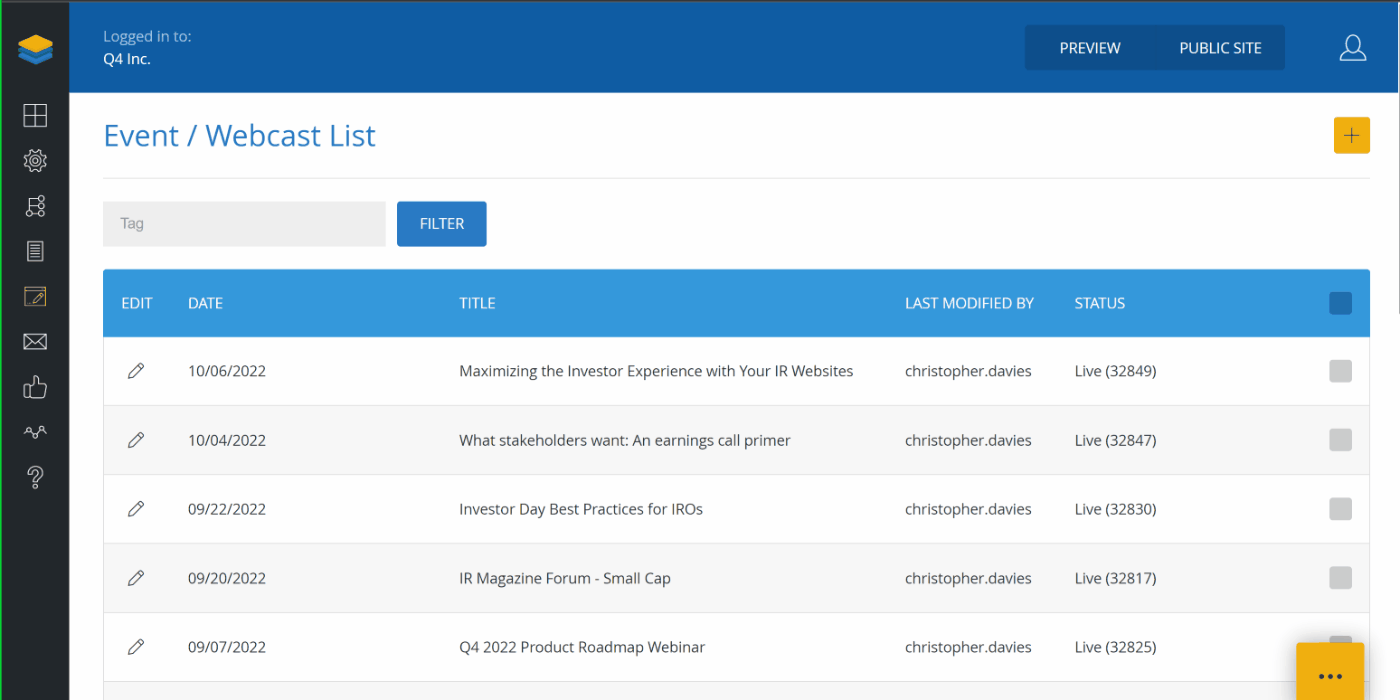
- Click on the content icon in the sidebar, and select “Events”
Step 2: Add event details
- Click on “+” to create a new event
- Enter the event details provided by the events team.
* Set time zone to (UTC-05:00) Eastern Standard Time unless stated otherwise
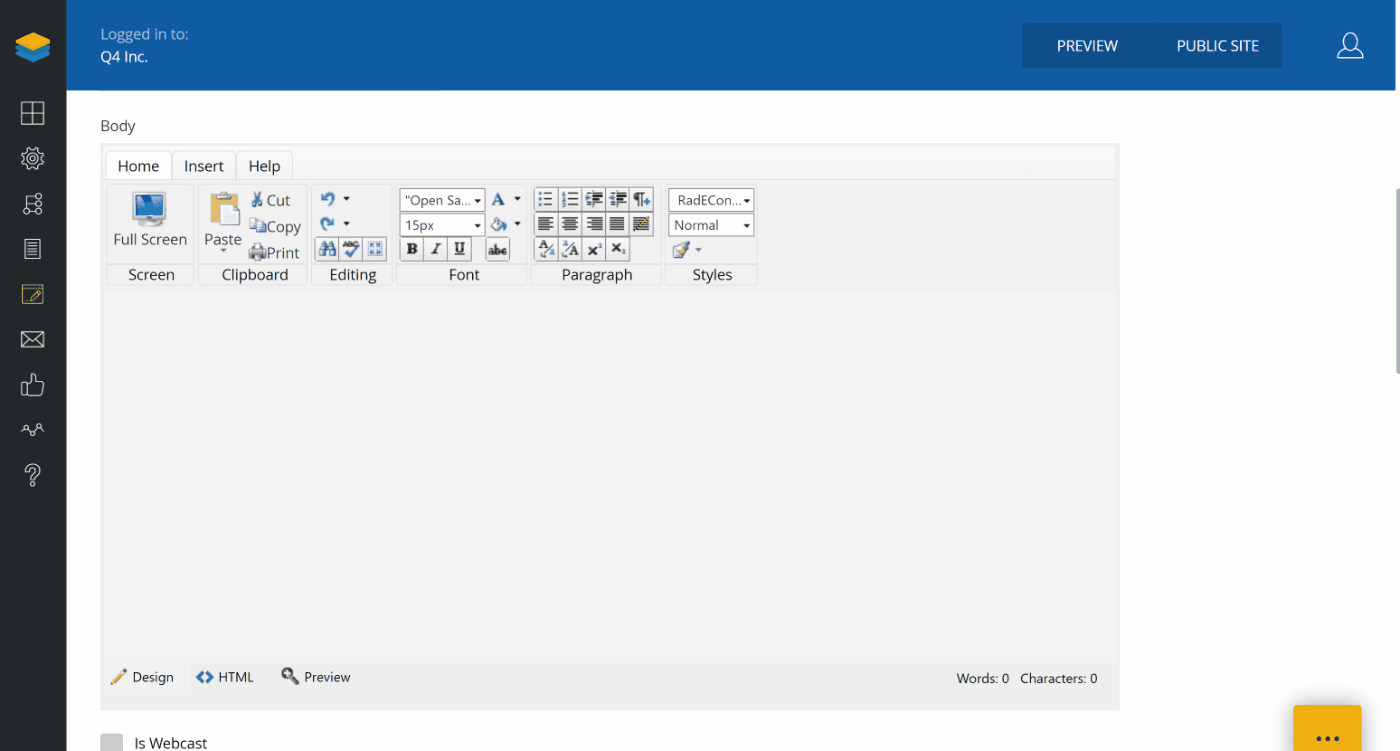
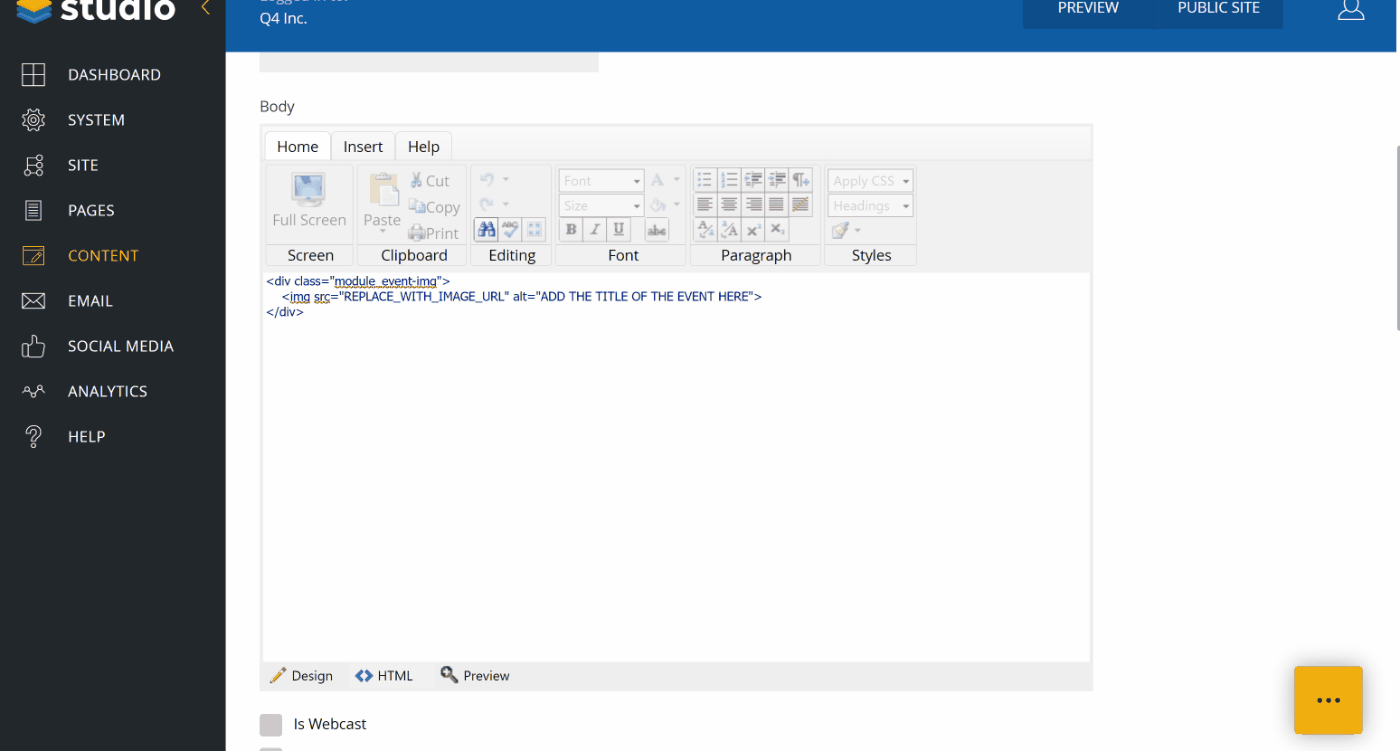
Step 3: Add image div container
- Scroll down to the “Body” section.
- Click on the “<> HTML” tab
- Copy/Paste the code snippet below:
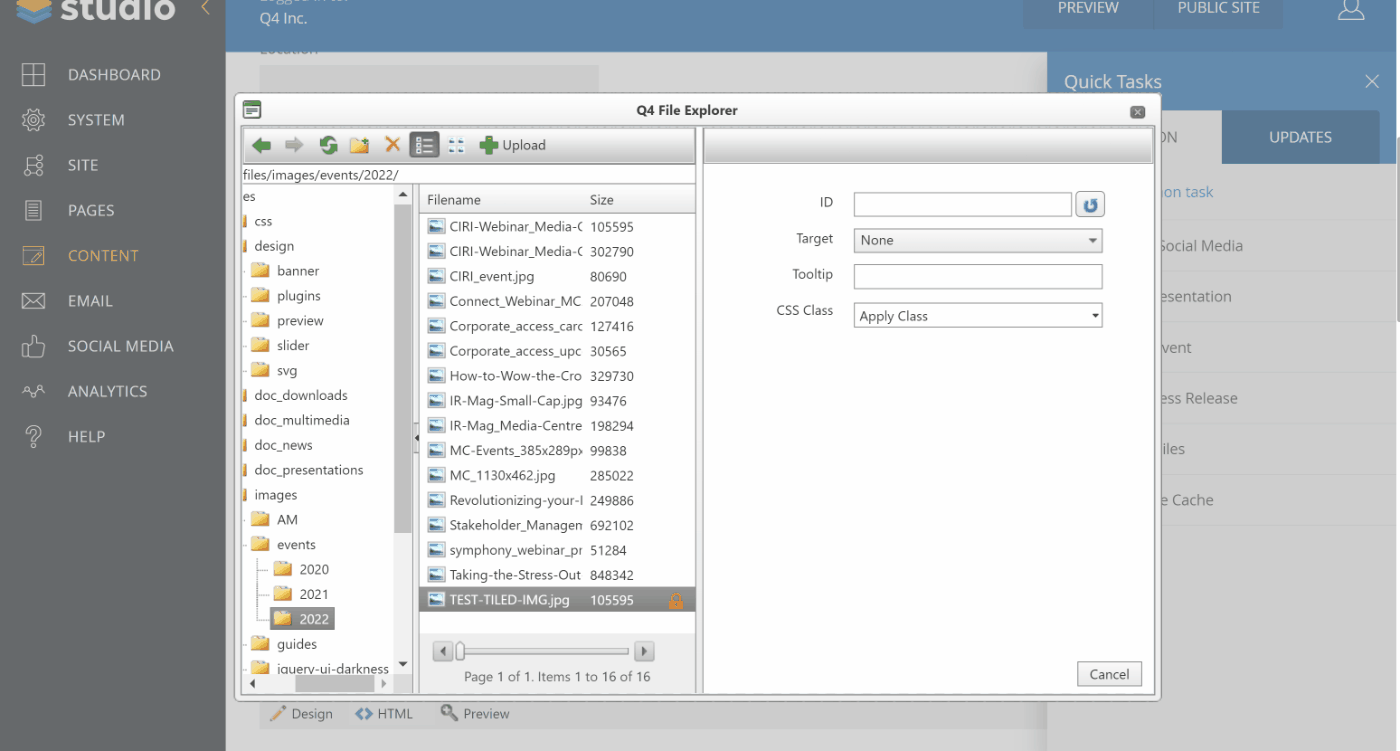
Step 4: Upload image to CMS
Image dimensions should be 385px x 289px
- Click on the ellipses menu
- Click on “Upload Files” menu option
- Navigate to the relevant images folder where you will store the new image
(files >images > events > 2022) - Click “+ Upload”
- Click “Select” and find the image you want to upload from your computer (dimensions 385px x 289px)
- Click “Open” – you’ll now see the new image in the folder
Step 5: Copy the image URL
- Right click on the newly uploaded image and select “Make Public” and “OK”
- Right click again on the same image and select “Copy URL to Clipboard”
- Click “Copy Partial URL” and “Close”
- Close the pop-up window by clicking the “X” or “Cancel”
- Return to the body section where you pasted the image div
- Paste the URL to the section labelled “REPLACE_WITH_IMAGE_URL” and click the “Preview” tab to make sure the URL was pasted properly
- Replace the copy in the “alt=” section with the title of the event

Step 6: Add the event registration link and preview on stage
- Check “Open Link in New Window”
- Paste the registration URL provided by the events team in the “URL Override” field
- Add a comment (the CMS will not allow you to continue unless you do)
- Click “Save and Submit”
IMPORTANT – This has saved the event to the staging environment. Please preview
- Click on the “Preview” button and the top of the page. A new browser window will open. This is a preview of the staging environment.
- Navigate to the Events section to see the event you just added and ensure the creative is correct and that the registration link works
- Close this browser window.
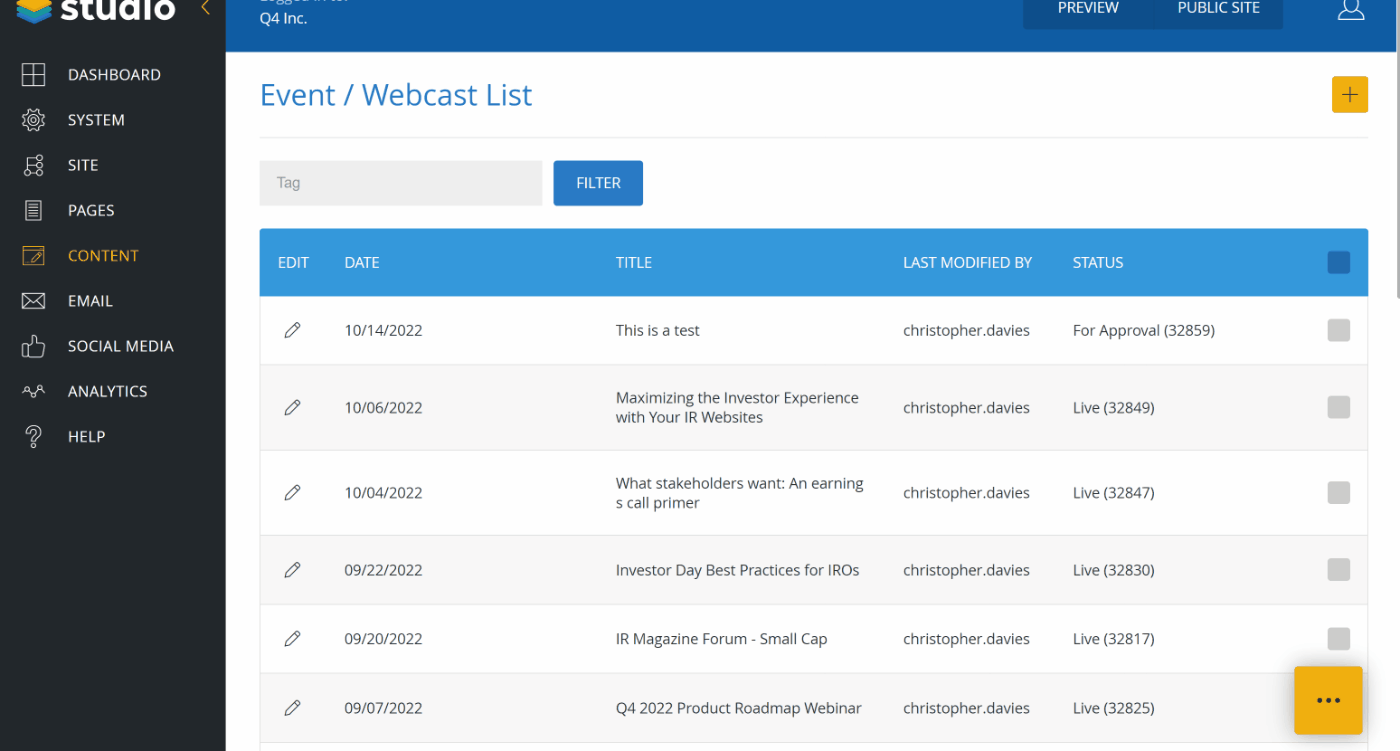
Step 7: Publish the event to the live environment
- Find the event in the Event/Webcast list (it will be marked by “For Approval”
- Click on the pencil icon to edit the post
- Scroll to the bottom of the page and click “PUBLISH”
- You’re done! Unless…
SLIDER EVENT ITEM
This is 1 of 2 types of events you may be asked to create. These instructions are for the larger slider content type that are displayed on the media center homepage
Step 1: Create a new slider item
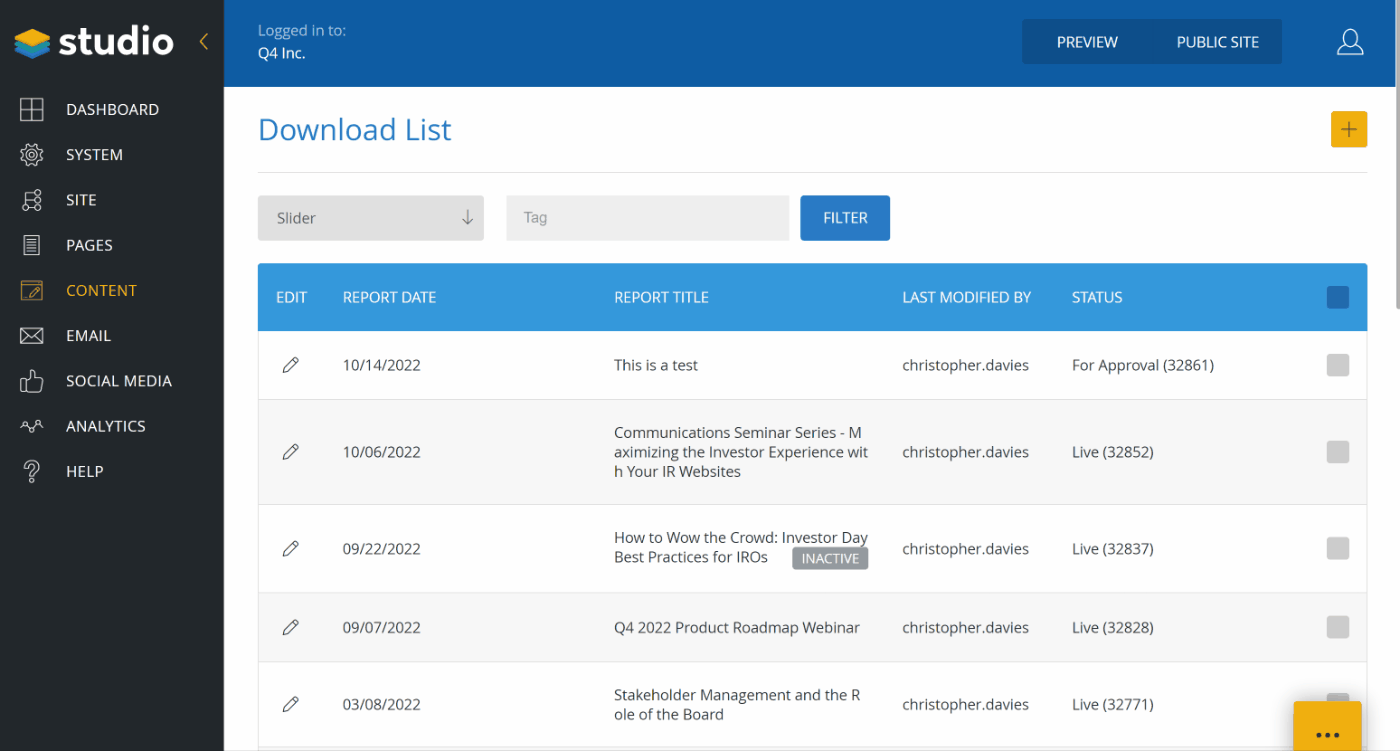
- Hover over the “CONTENT” tab in the sidebar, and select “Download List”
- From the dropdown, select “Slider”
- Click “+” to create a new item
Step 2: Add event details
- Download Date: as provided by events
- Download Type: Slider
- Download Title: Name of Event (as provided by events)
- Download Description:
– Pre event = REGISTER
– Post event = REPLAY (if there is no video post event, this item should be deactivated) - Download Type: Online Version
- Download URL: registration link as provided by events
Step 3: Add Thumbnail
- hover over the “Thumbnail” icon and click on the GREEN document icon
- Navigate to the the folder where the thumbnail should be uploaded to
files > design > slider > 2022 - Click on the “+ UPLOAD” button
- Click on the “Select” button
- Navigate to the image you want to upload (dimensions 1130px x 462px) that was provided by the design team
- Click “Open”
- Click “Upload”
- Right-click on the image and select “Make Public” and “OK”
- Double click the image and you will then see the icon section display the new image

Step 4: Push to staging environment for preview
- Add a comment before saving (you won’t have a choice)
- Clack “Save and Submit”
IMPORTANT – This has saved the event to the staging environment. Please preview
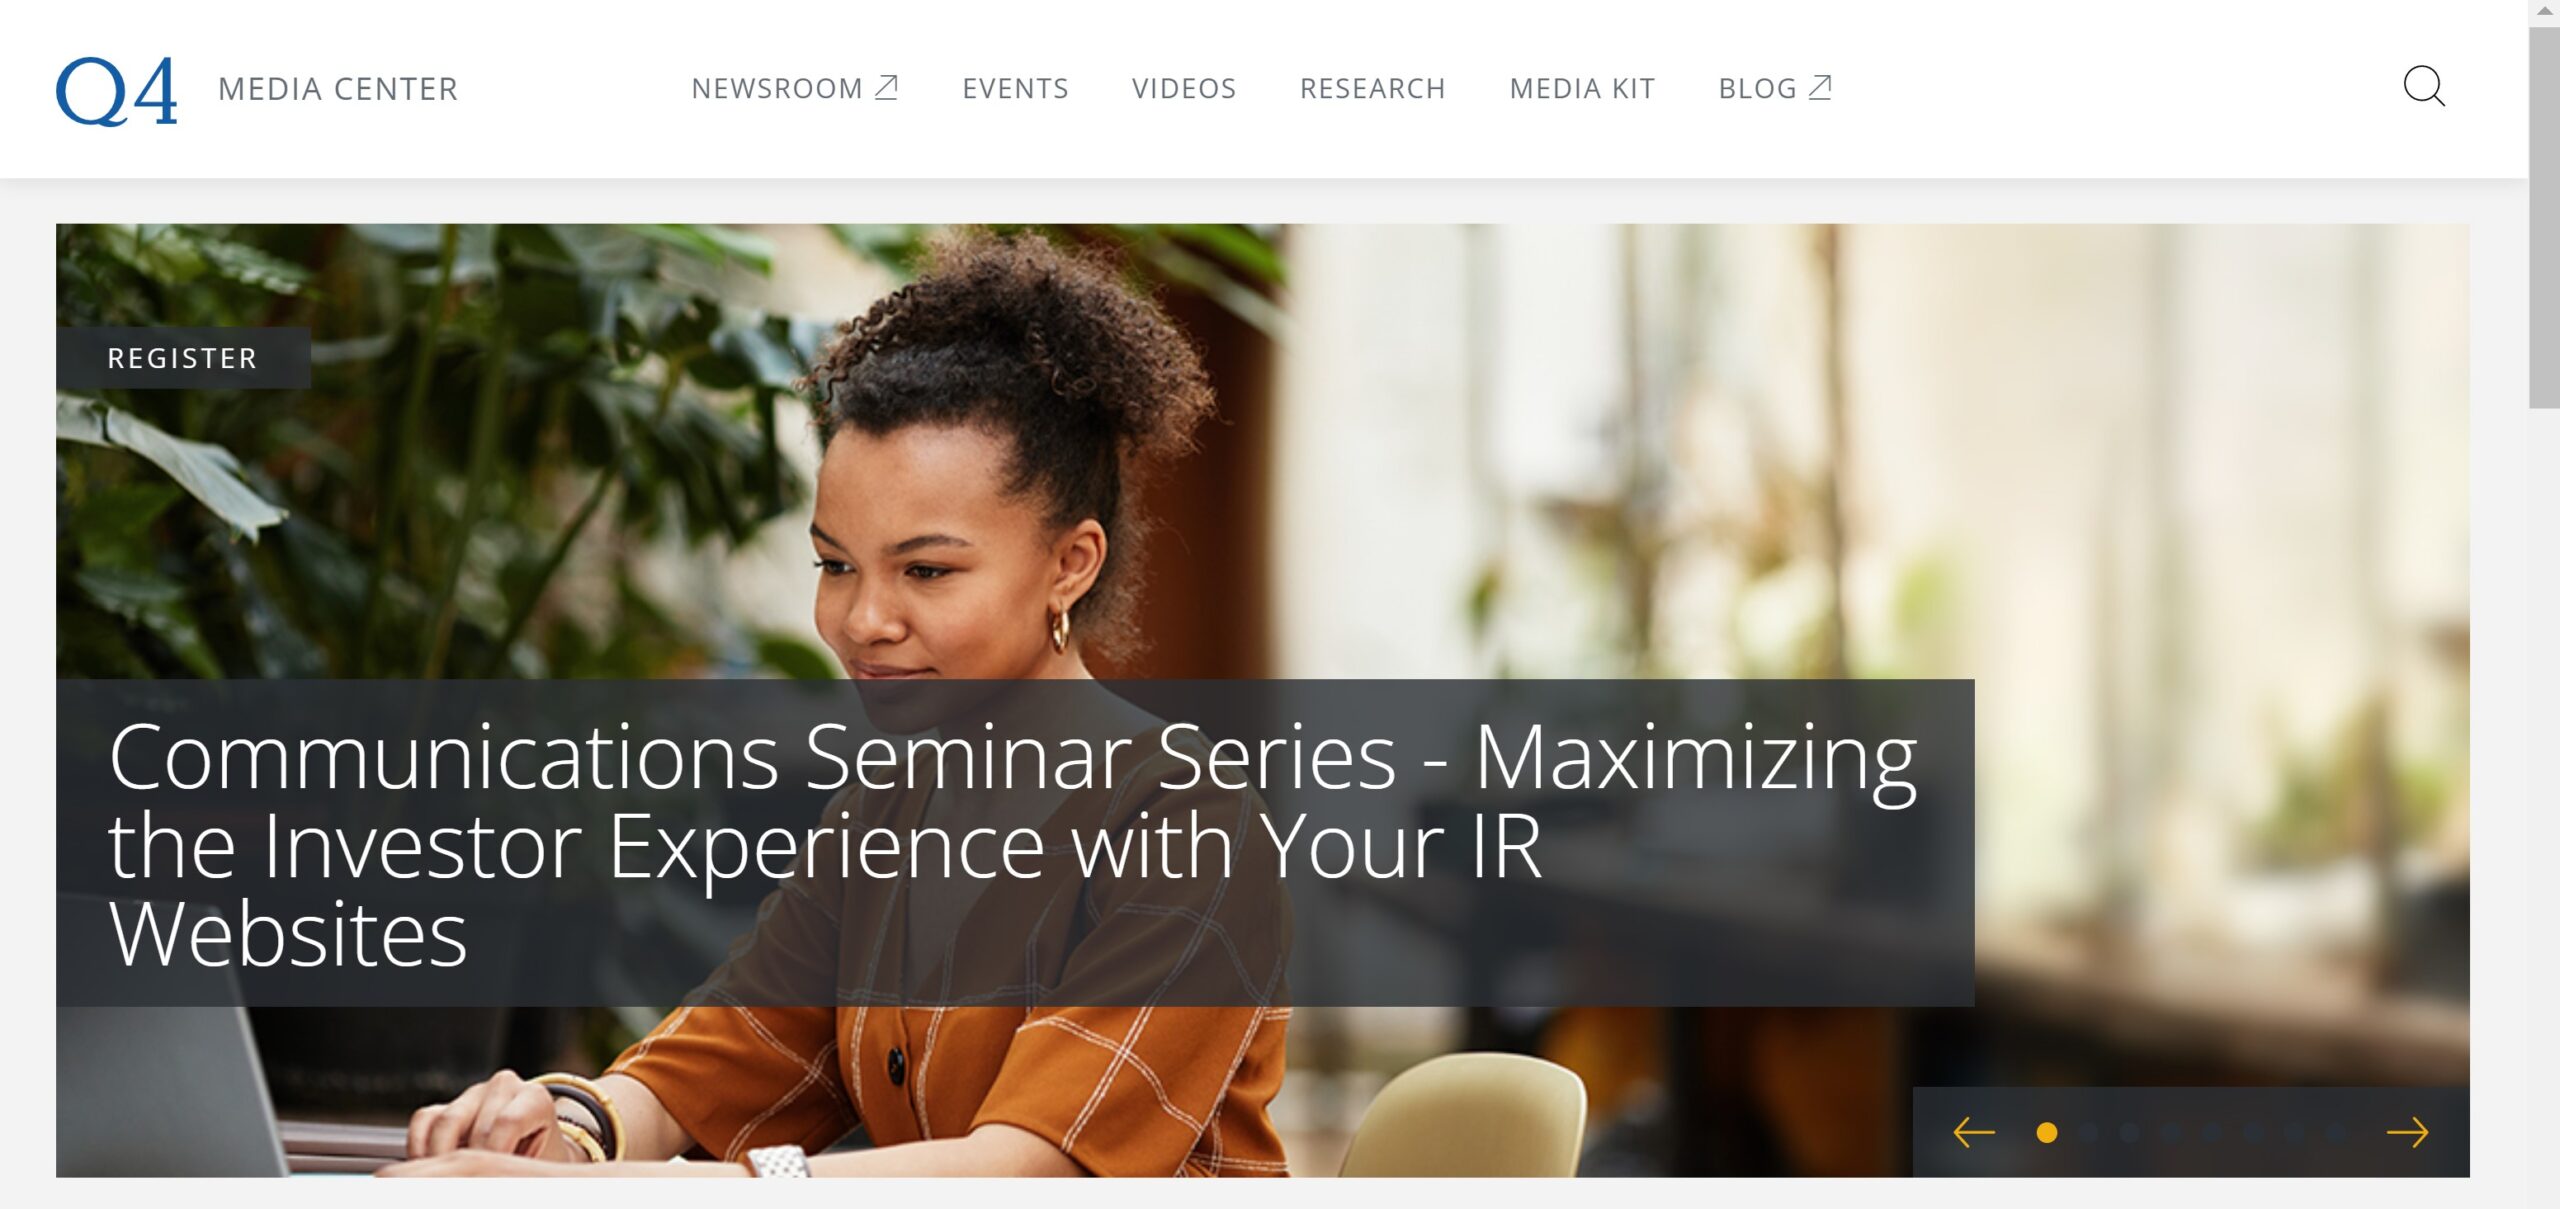
- Click on the “Preview” button and the top of the page. A new browser window will open. This is a preview of the staging environment.
- You will see the event you just added . Make sure the creative is correct and that the registration link works
- Close this browser window.
Step 5: Publish the event to the live environment
- Go back to the Download list and find the event you just added (it will be marked by “For Approval”)
- Click on the pencil icon to edit the post
- Scroll to the bottom of the page and click “PUBLISH”
- You’re done!